Thursday, September 23, 2010

easy as pie headbands

i've always wanted to be a headband person... but my head just seems to not like wearing them. they are always slipping off, or causing major headaches.  but i finally found the solution!!  and it was seriously as easy as pie!

I got the pattern free off Heather Bailey... which btw is an awesome website or blog i guess.  it only took me about 10 minutes to make them from start to finish, and they are SO comfortable!!  i would wear them everyday, but i need to make more first.  i ended up modifying the pattern a little bit because the headbands were a little too wide for my head... but it was so easy!!  all you need is a little material and about 6 inches of elastic!  here's the pattern available as a free download... and here are some pictures!!  the top one is the first one i did.. the band is a little thicker, but the bottom one is after the modifications.  

HOORAY FOR HEADBANDS!!  
btw... that's the name of the pattern :)   


Tuesday, September 21, 2010

Vanilla Crunch Granola

I really like this granola... not too sweet, and not too much to chew either. it's a perfect mix and super good!

1 1/2 c. brown sugar
1/2 c. water
4 t. vanilla
1 t. salt
8 c. oats
2 c. chopped nuts (we use almonds)

Combine sugar and water and cook until dissolved.  then add vanilla and salt.  Combine everything and mix thoroughly... follow the directions on the peanut butter granola recipe to dehydrate or bake.  

Peanut Butter Granola


Granola is a staple at our house... it's super easy to mix up and unfortunately gone just as fast. I have 2 favorite recipes... this peanut butter one and a vanilla crunch one which i'll share as soon as i can find it :)


Peanut Butter Granola
5 c. oatmeal (not quick)
5 c. rolled six grain (if you don't have this, just use more oats)
2 c. coconut flakes
1 1/2 c. rapadura (or brown sugar)
1 t. salt
3/4 c. peanut butter
1 c. coconut oil (or other oil)
1/2 c. honey
2 t. vanilla

Directions:
* mix all dry ingredients together except the salt (I find it mixes better if you add it to the wet ingredients)
* combine all the other ingredients... be careful not to heat it too hot, as you don't want to damage the oil
* stir heated mixture into dry ingredients
* place on dehydrator trays

Cooking Instructions:
* dehydrate until crispy, usually 18-24 hours
* Cool and store in glass jars.
* I don't have the directions any more for cooking in the oven, but I think you just cook it at 350 degrees until crispy (about 1/2 hour ?), and you need to turn it every so often.

RolyPolies


these are definitely a favorite at my house!!  kind of like crepes, except smaller and thicker... so i guess they really aren't like them at all.  but anyways... my childhood best friend's mom gave us this recipe and we would have across the street competitions to see who could eat the most... i think i lost at 8.  Enjoy this super easy recipe!! 

4 eggs
1 c. flour
1 c. milk
2 T. honey
1 t. salt

* double batch makes approx. 30-35 roly polies
* cook on gridle like pancakes
* roll as soon as cooked
* serve with syrup, honey, berries, cream cheese mix... whatever strikes your fancy!!

Thursday, September 16, 2010

marie-madeline studio

over at pioneer beauty there is a giveaway for a $100 gift certificate for marie-madeline studio!!  here are some pictures of what you can get at marie-madeline!  love their stuff!!  patterns, cloth, pre-made stuff, etc...


Tuesday, September 14, 2010

strawberry-blackberry jam

about a week ago we ordered some Chill Over Powder (a gelatin alternative) from MaryJane Farms as an experimentation...  and today i picked a couple pounds of strawberries and a few blackberries from our garden and decided to make jam!  it turned out great!

 mixing it all together
 the beautiful finished product.  it only took about a couple hours to do it all!!

the recipe is super simple...
4 cups of crushed berries
2 cups of sugar
2 teaspoons chill over powder

bring the berries and sugar to a boil.
sprinkle the powder in and stir, boil for 3 minutes.  
put in jars and water bath them for 15 mins. 
see i said it was simple!!  and tasty too! 

Friday, September 3, 2010

how we do kefir

it's time to make kefir!!
to start off... get your kefir grains.  here's a cute one from our bunch. 


first of all...put your grains in fresh milk.  if you have a tablespoon or so of grains, put them in about a cup of milk.  the kefir grains will eventually multiply and you'll have to add more milk.  we have a couple cups of kefir grains, and we use about 4 cups of milk everyday.  above is our kefir ready to culture!  your kefir needs to be able to breathe, so we put a little bit of cheesecloth on the top, and secure it with a jar ring.

kefir needs to culture for anywhere between 12-24 hours.  it needs to be out of direct sun, and kept at room temperature.  in the summer when it's really hot, we end up taking ours downstairs where it's cooler.

here's ours all ready to drain.  we usually drain it every 24 hours, but others like to drain it earlier.
a lot of people talk about not using metal or plastic when draining, but we've found that using both works fine and doesn't affect the keifr.  here's what we use to drain our kefir.

once poured into the strainer, we stir it and sometimes bang it until all that's left is the grains.
here's the keifr that was drained off.
and here are the grains.  be sure to not rinse your grains, because that destroys the good bacteria.

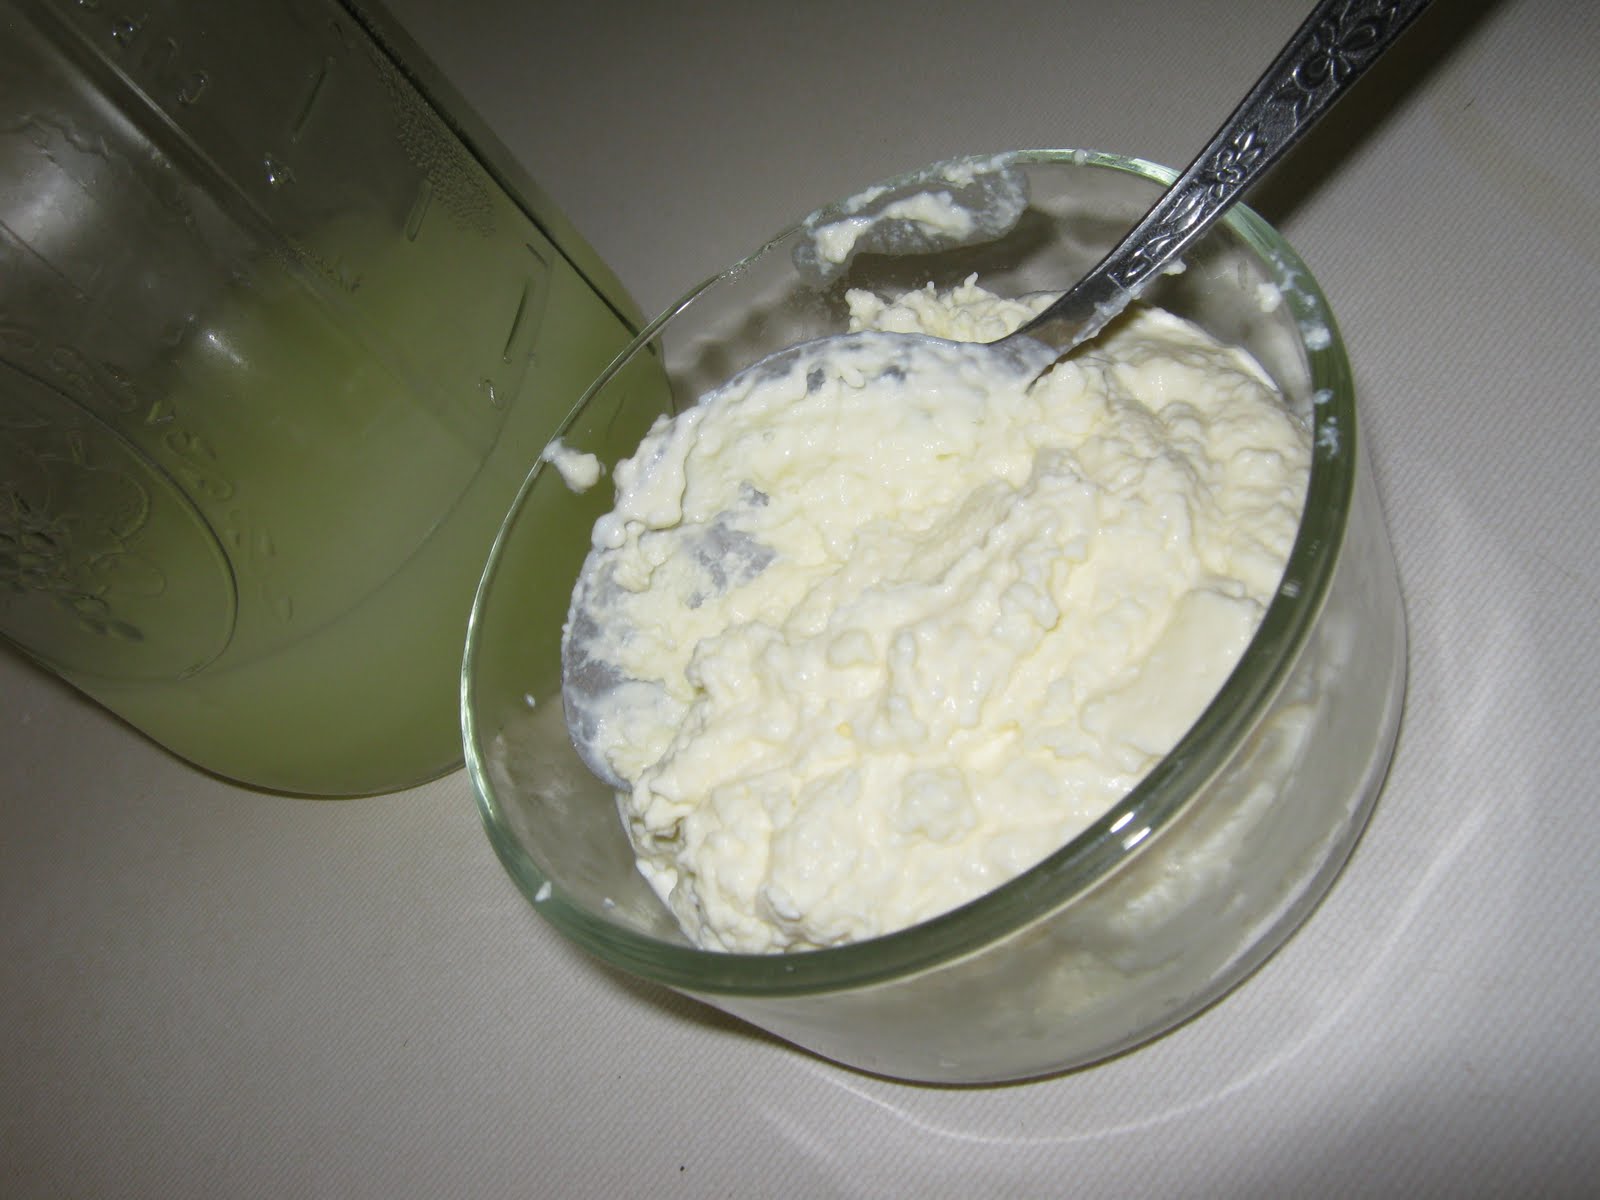
now you're ready to have fun with your kefir!!  we make kefir smoothies every morning, and i just started making kefir cheese and made some delicious dressing with it!!  there are so many things you can do with kefir!!  


WHAT EXACTLY IS KEFIR?  kefir grains are "a combination of bacteria and yeasts in a matrix of proteins, lipids and sugars.  Many different bacteria and yeasts are found in the kefir grains, which are a complex and highly variable community of micro-organisms."  kinda confusing, but i know that there's a lot of good stuff in kefir, and i love it!

Thursday, September 2, 2010

making "kefir cheese"

i'm kinda going backwards with this... starting with dressing, going to making keifr cheese, and later i'll be posting a tutorial on how we do our keifr. so, stay tuned for that!!


to start off, drain your kefir
here's the drained kefir, about 4 cups


here's my favorite method of draining the kefir to make cheese.
 just use a dishcloth, and stick it inside a 2 quart mason jar.  
pour the kefir into the cloth,

and then rubberband the bundle to the side...
see the whey already draining out? 

stick it in the fridge for a couple of hours,
undo the rubberband every couple of hours stirring
the kefir to speed up the draining process.  
i drained mine for about 4-5 hours.
just keep checking it until it looks like softened cream cheese
and there you have it!!  kefir cheese!!
thanks to a great friend for the wonderful tips!
my first batch was drained on the counter and ended up REALLY sour.  
but this way it turns out much better!!  enjoy! :) 

Wednesday, September 1, 2010

"ranch" dressing

i used to love putting dressing on everything.  veggies, salad, pizza... you name it.  "ranch" is chock full of a bunch of nasty stuff... but today i succeeded in making some dressing that tastes exactly the same!!!

i started with some kefir, wrapped it up in a cloth, hung it up and drained the whey out, and ended up with kefir "cheese".  (i'll talk more about this later!)
i had a cup and a half of kefir cheese, which i put in my vita-mix,
added about a cup of  raw milk, 2 teaspoons of spike
a teaspoon of salt and blended it all up.

and voila!!  even my incredibly picky sister said that it tasted "just like ranch" and said she wanted to go pick some lettuce for a salad!!  enjoy!!